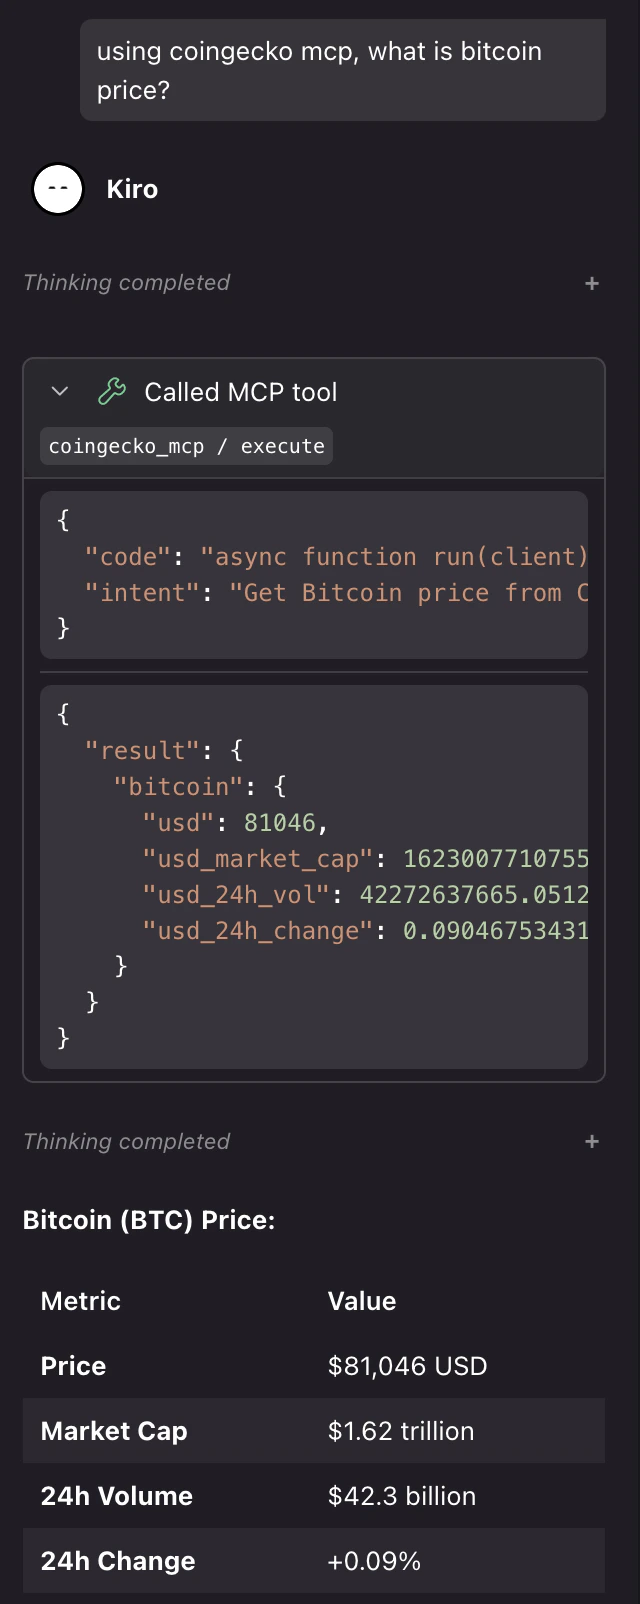
AWS Kiro
Kiro is an IDE and CLI terminal-native coding agent from Amazon Web Services. Plug CoinGecko in through any combination of the three integrations below — they’re complementary, not exclusive.
The instructions below are for the Kiro IDE.
1. Install the SKILL
Give Kiro built-in knowledge of the CoinGecko API to ensure that it writes the correct requests without the need to copy paste the reference docs every session.
While Kiro is able to directly load a skill through a GitHub URL, it requires the SKILL.md to be inside a subdirectory. https://github.com/coingecko/skills SKILL.md currently sits in the root directory which will trigger an error to Kiro.
A workaround is to clone the repo into your working directory as below.
Then use the Kiro IDE to add the skill by referring to the file path.
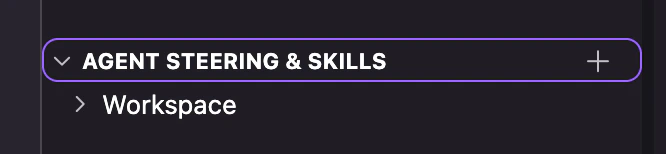
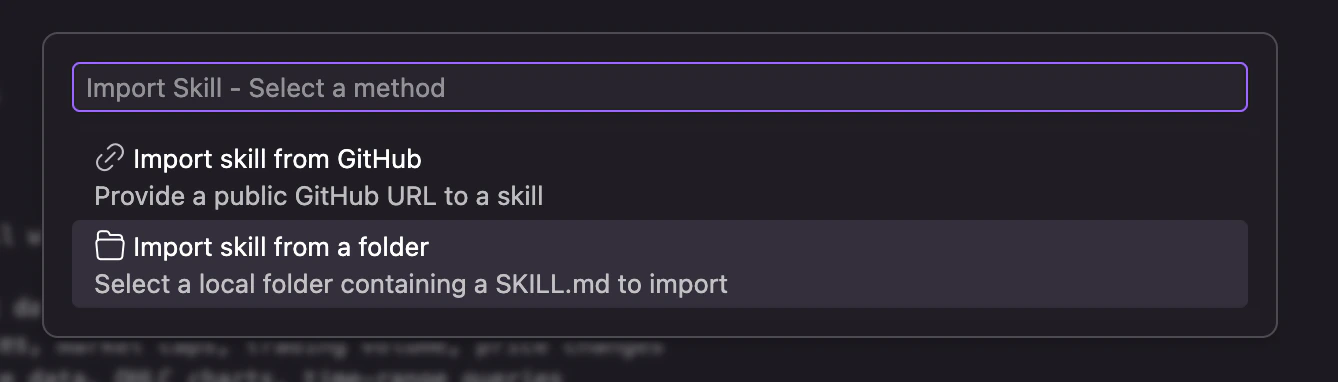
Full instructions: SKILL docs.
2. Add the MCP Server
Connect Kiro to live CoinGecko API via the MCP.
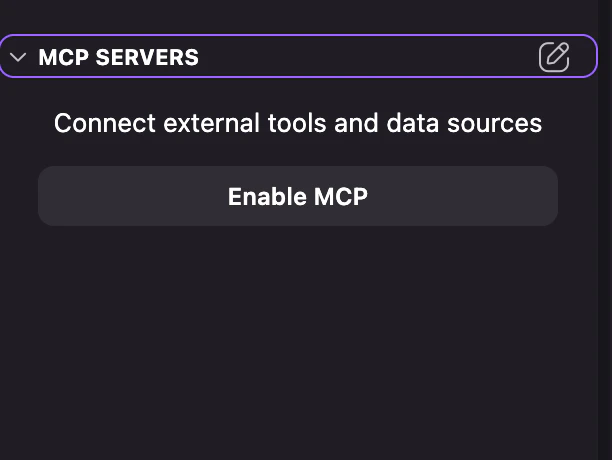
After clicking the add MCP, if this is your first time setting up MCP on Kiro, you will see the following file below.
Append the CoinGecko MCP configuration.
Full instructions: MCP Server docs.
3. Add Steering
To ensure that Kiro agent follows the most up-to-date instructions in implementing the codebase using CoinGecko API and SDKs, add the following prompt to Kiro steering files.
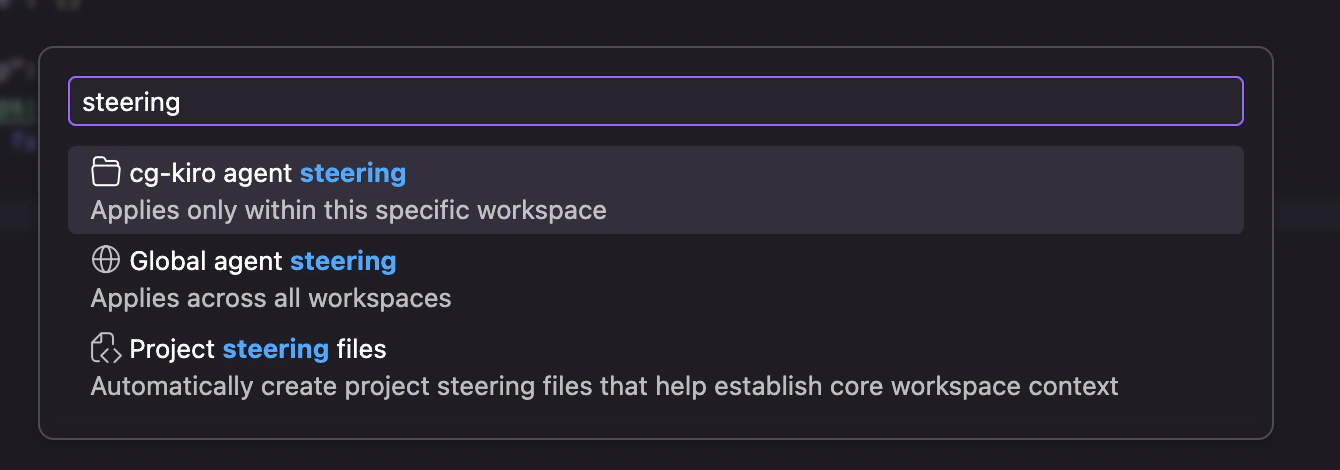

Choose from the above, copy and paste into the steering template.
What to try next
Once everything’s wired up, try asking Claude Code:
“Using the CoinGecko MCP, show me the top 10 trending pools on Base in the last 5 minutes and export them to CSV.”
“Write a Python script using coingecko-sdk that tracks my portfolio and sends me a Slack alert if any coin moves more than 10% in an hour.”